
 Shop By Brands
 All Products
 Clinic Setups
 Sales and Support
-
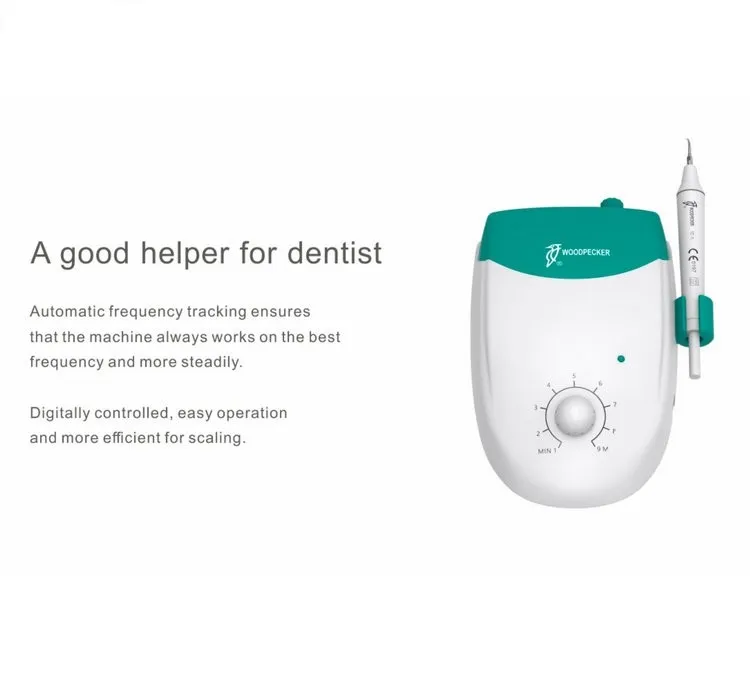
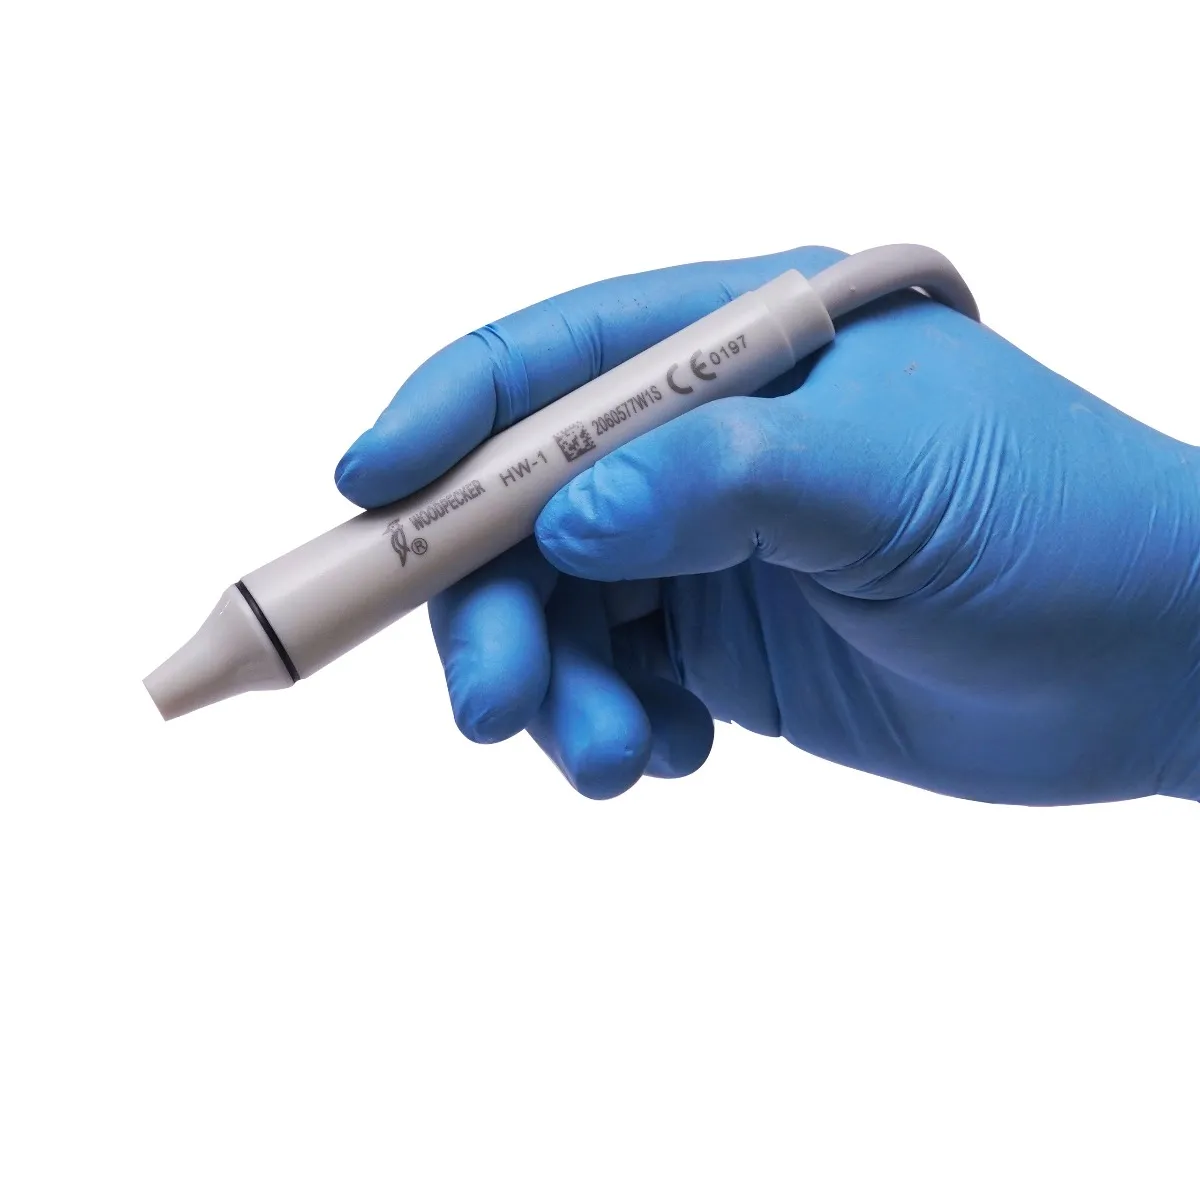
The UDS-J Ultrasonic Scaler is an advanced dental device designed to aid in the effective cleaning and treatment of teeth.
-
This state-of-the-art scaler features a sealed handpiece, ensuring optimal hygiene and preventing cross-contamination between patients.
-
The handpiece's design allows for easy maneuverability and reduces hand fatigue during extended use.
-
With two specialized modes, scaling, and perio, the UDS-J scaler offers versatility in addressing various oral hygiene needs.
-
The scaling mode is designed for general plaque and calculus removal on the tooth surfaces, while the perio mode focuses on subgingival cleaning and treatment of periodontal pockets.
-
This allows dental professionals to provide tailored treatments and comprehensive oral care.
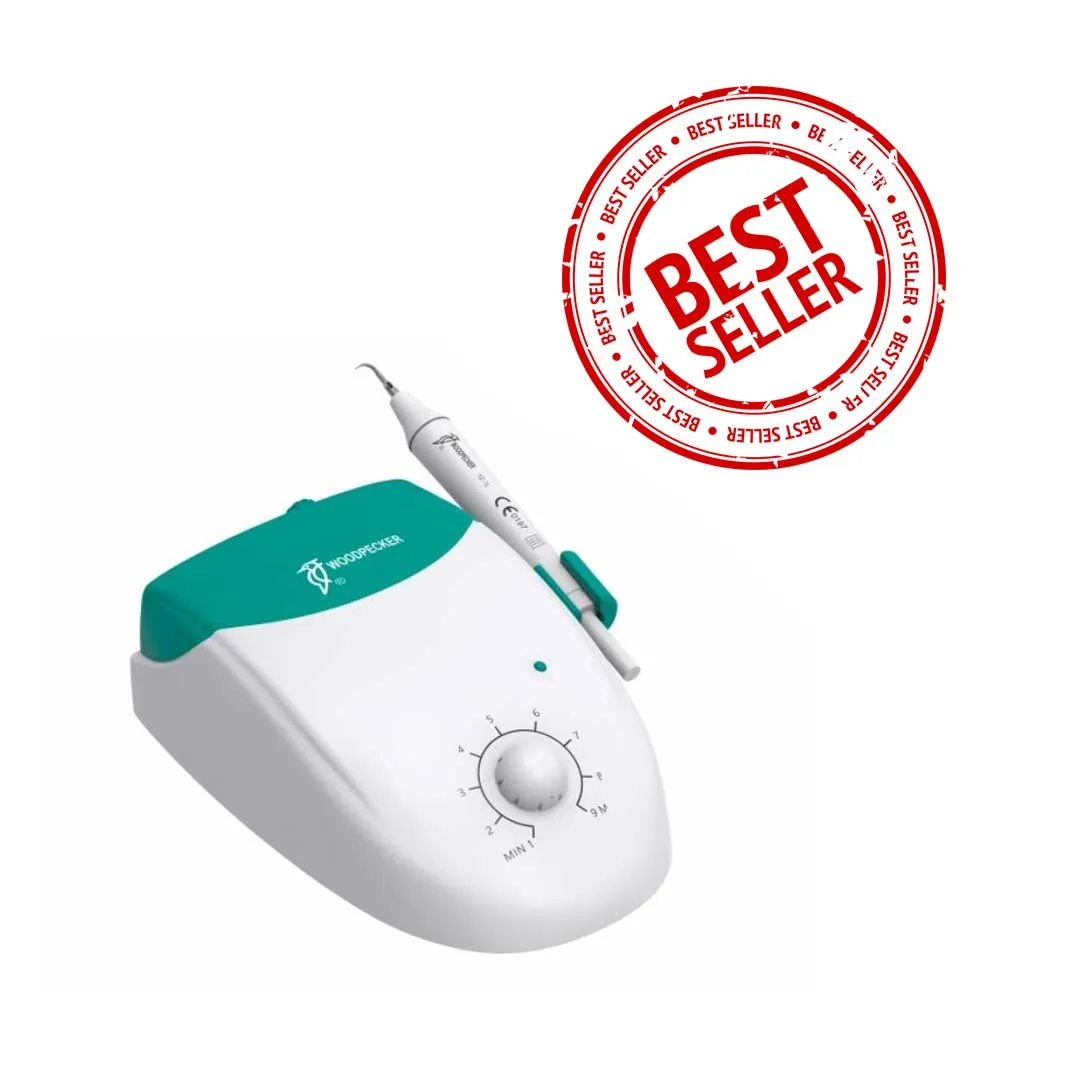
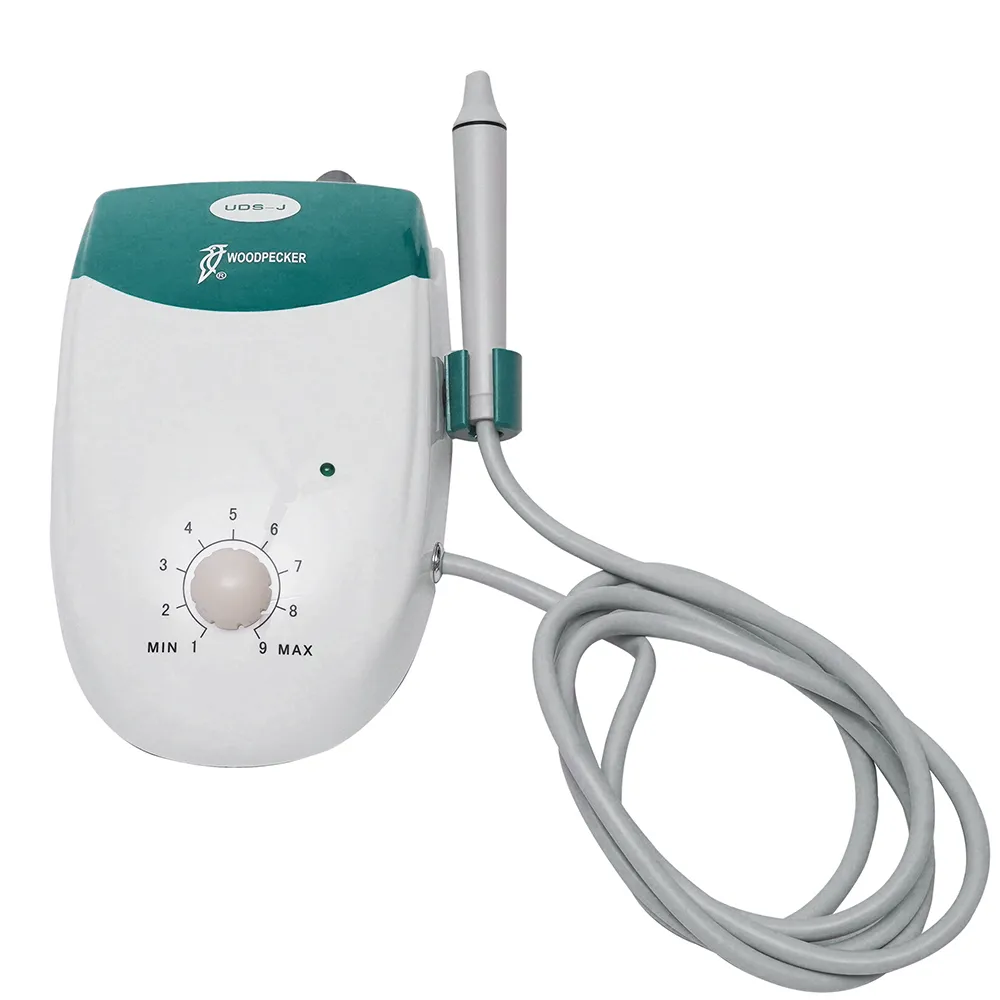
WOODPECKER UDS - J (Ultrasonic Scaler)
Ultrasonic Scaler with Sealed Handpiece and two Modes, Scaling and Perio Ensuring optimal hygiene and preventing cross-contamination between patients.
Packaging
-
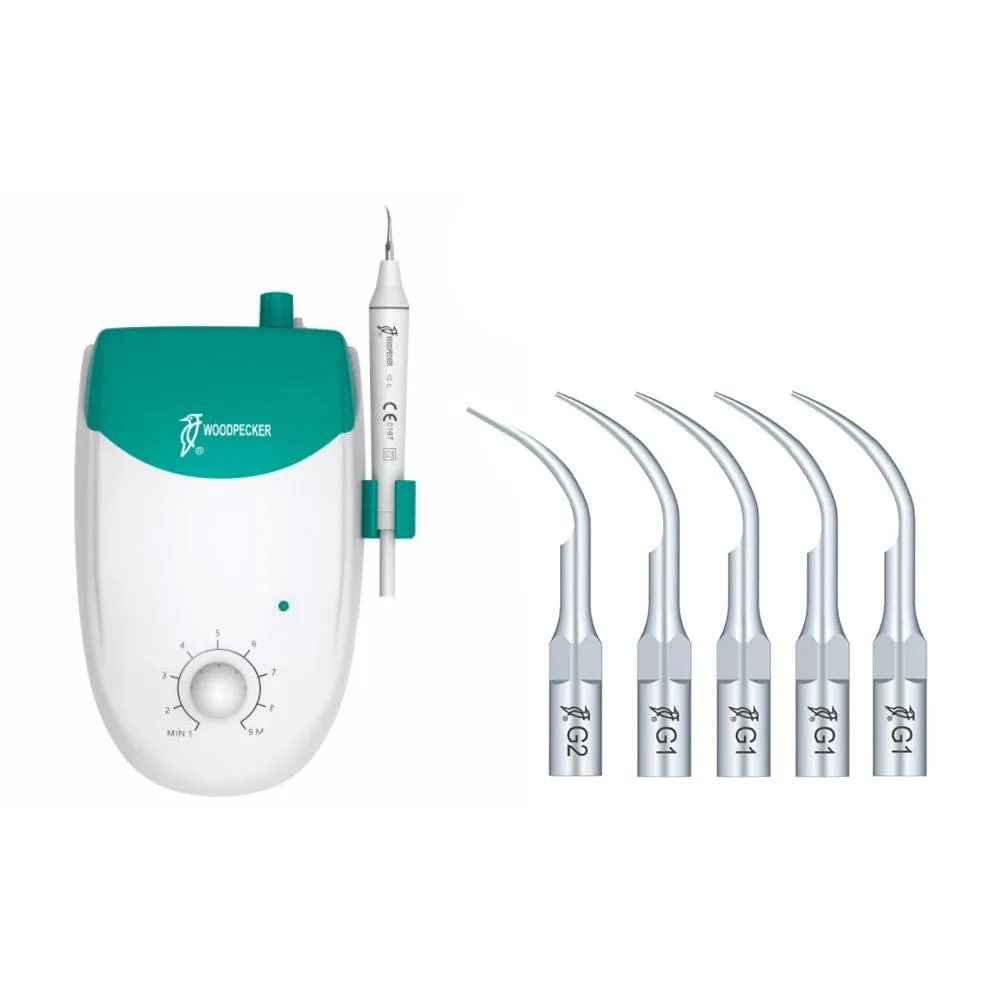
1x Main unit
-
1 x Handpiece
-
1 x Footswitch
-
5 x Tips (3 x G1, 1 x G2, 1 x P1)
-
1 x Adapter
-
1 x Torque wrench
-
1 x Operation manual
Direction to Use
1. Setup and Preparation
-
Inventory Check
-
Confirm that all components are present according to the packing list (main unit, foot switch, water pipe, handpiece, power supply, tips, etc.).
-
-
Positioning the Unit
-
Place the main unit on a stable, level surface within easy reach of the operator.
-
-
Water Supply Setup
-
Turn the water control knob fully clockwise to open water flow.
-
Connect one end of the water pipe to the water inlet on the unit and the other end to a clean water source (distilled water is recommended).
-
-
Potentiometer Adjustment
-
Rotate the potentiometer knob so its pit aligns with the “1” dial (this is typically a starting reference position for power settings).
-
-
Connect Foot Switch
-
Plug the foot switch into its designated port on the main unit.
-
-
Power Supply Connection
-
Connect the power adapter to the unit and plug into a 240V AC power outlet.
-
Press the power switch on the main unit—indicator light should turn on.
-
2. Pre-Operation & PPE
-
Wear gloves, mask, eyewear, and other PPE as per standard infection control protocols.
-
Ensure the patient is draped with a dental bib and wearing protective eyewear3. Tip & Handpiece Setup
-
Select an appropriate scaling, perio, or endo tip depending on the procedure (refer to the tip manual).
-
Attach the tip firmly to the handpiece.
-
Ensure the LED handpiece is securely attached to the main unit.
-
Confirm water flow by pressing the foot switch momentarily.
4. Operating Procedure
-
Positioning the Handpiece
-
Hold the handpiece firmly using a modified pen grip.
-
Keep the tip perpendicular or slightly angled to the tooth surface or subgingival area.
-
-
Adjusting Power
-
Set power level using the power adjustment knob based on treatment area:
-
Low for sensitive areas or perio work.
-
Medium to high for heavy deposits or supragingival scaling.
-
-
-
Activation & Technique
-
Step on the foot switch to activate the scaler.
-
Water will flow through the tip and cooling will begin.
-
Use gentle, sweeping motions on the tooth—never apply heavy pressure.
-
Continuously irrigate and suction for a clear view and clean field.
-
-
Monitoring & Adjustments
-
Monitor patient comfort.
-
Adjust power or switch tips as necessary.
-
5. Post-Procedure Protocol
-
Deactivate the Device
-
Release the foot switch to stop vibration.
-
Switch off the power button on the main unit.
-
-
Handpiece & Tip Care
-
Detach and autoclave the LED handpiece (if autoclavable).
-
Clean, disinfect, and sterilize all used tips.
-
-
Flush Water Lines
-
Run clean water through the unit for 30 seconds to flush biofilm and prevent clogging.
-
-
Storage
-
Store all components in a dry, clean environment.
-
Coil the water pipe and power cord loosely to avoid damage.
-
Warranty
-
Manufacturer/Importer Warranty of 1 Year on all the parts of the product & 5 years Warranty (from the date of invoice) on PCB (Power Circuit Board).
-
Physical damage is not cover in any case
-
Service and Warranty are handled by the manufacturer/importer directly for this product
-
oralhealthcart will not be liable to replace the Products and the liability to replace any such Product is that of the Manufacturer/Importer
Similar Products

WOODPECKER UDS - P ( Ultrasonic Scaler )
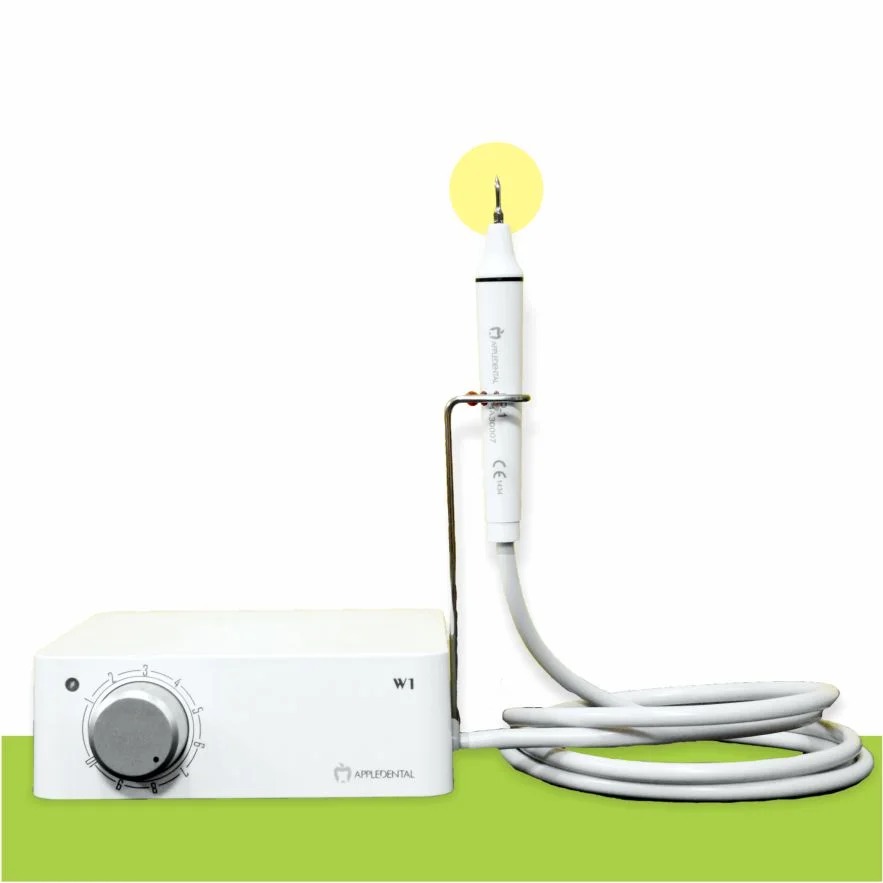
AppleDental Ultrasonic Scaler (Model - W1)

BAOLAl P4 Ultrasonic Scaler

DENEXT Hedron Piezoelectric Ultrasonic Scaler
You May Require This Also

OHC Gutta Percha Cutter
OHC 3 PLY FACE MASK-100pcs

OHC NITRILE EXAMINATION GLOVES - Meduim - 100pcs
Make a Counter Offer to the Supplier
₹ / Per Product
Enter all product details and other specifications to counter the offer of the supplier