Shop By Brands
 All Products
 Clinic Setups
 Sales and Support
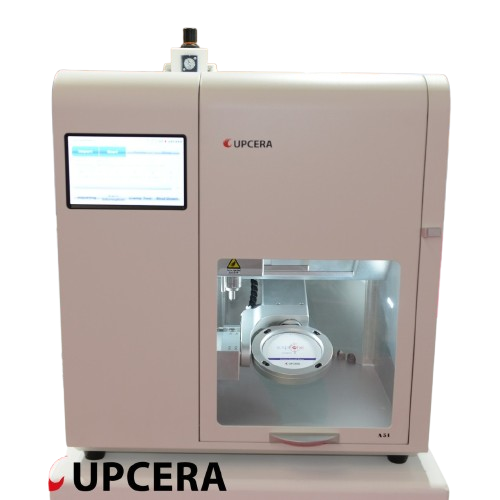
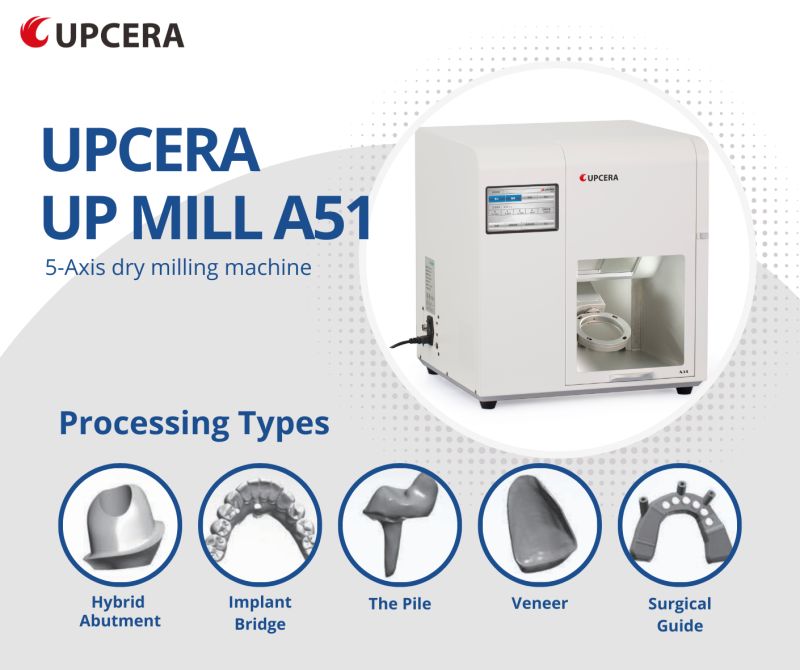
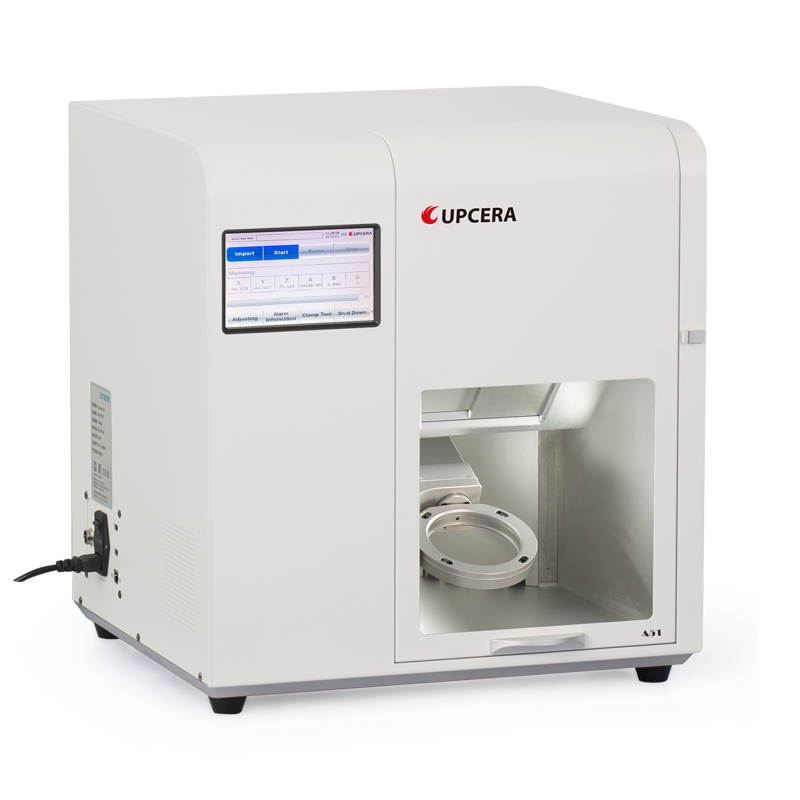
Upcera A51 5-Axis Dry Milling Machine
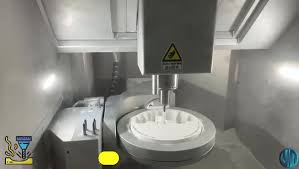
The Upcera A51 5-Axis Dry Milling Machine stands as a pinnacle in dental milling technology, offering a sophisticated yet simple user interface with a two-button machining start, providing a seamless user experience. Engineered with top-rated mechanical and electrical components, it ensures durability, reliability, and high precision. This advanced milling machine incorporates power-off and low air-pressure protection, enhancing safety during operation. Its exceptional capability for non-stop 24/7 machining ensures continuous productivity with outstanding performance.
- Dimensions: 53x47x56cm
- Weight: 110kg
- Voltage: 220V 50HZ; 110v 60Hz
- Power: 1.0KW
- Compatible Compressed: 0.5-0.8 MPa
- Spindle Speed: 80,000rpm
- Precision: < 0.01mm
- Number of Bur: 6 (2mm, 1mm, 0.6mm, 0.3mm)
- Cooling Type: Air Cooling
- Materials: Zirconia, PMMA, Wax, PEEK
- Application: Coping, full contour, bridges, inlay, veneer, post-core crown, onlay, PEEK framework
- Milling Speed: Zirconia, PEEK, PMMA (10 minutes/pc), Wax (3 minutes/pc), Framework (45 minutes/pc)