Shop By Brands
 All Products
 Oralhealthcart Products
 Affordable Make in India Products

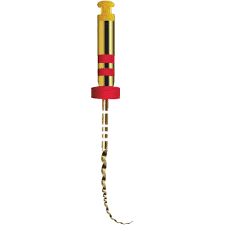
Cyclic Resistant
- 350% more resistant to cyclic fatigue
- Improved Resistance, cyclic fatigue resistance time
- Convex triangular cross-section: Sharp cutting edges
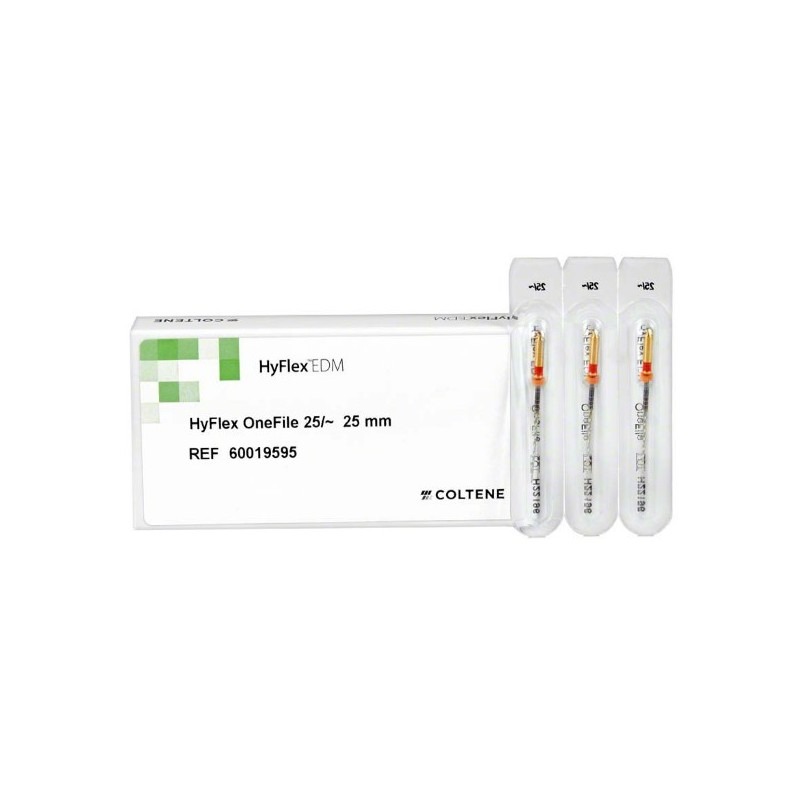
Gold Treated
- Advanced memory alloy tech with an elegant dark gold color
- Controlled memory files
- Gold thermal treatment: Enhances cutting efficiency
High Flexibility
- Extreme Flexibility: To negotiate any canal
- Super–flexible gold alloy
Tip
- Advanced Tip Process, Avoid Forming Steps
- Safety Tip: Non-cutting tip to minimize apical transportation
Rust - free
- Corrosion Resistant
Disinfection
- Autoclavable